こんにちは、エキサイト株式会社の平石です。
今回は、HTMXでheadタグ内の要素を扱う方法をご紹介します。
はじめに
ソースコードはJava SpringBootを利用していますが、それ以外の言語、フレームワークでも動作するかと思います。
環境
今回のソースコードは以下の環境で動作確認をしています。
- Java 21
- SpringBoot 3.3.5
また、テンプレートエンジンとしてThymeleafを利用しています。
標準のHTMXではheadタグを扱えない
HTMXでは、HTMLタグの属性のように記述することAJAXやWebSocketsのような機能を利用できるツールです。
便利なツールなのですが、HTMX単体ではheadタグの内容を扱うことができません。(例外的にtitleタグは扱えます。)
例えば、以下のようなControllerとテンプレートファイルを考えます。
import org.springframework.stereotype.Controller;
import org.springframework.web.bind.annotation.GetMapping;
import org.springframework.web.bind.annotation.RequestMapping;

@Controller
@RequestMapping("head")
public class HeadSampleController {
    @GetMapping("sample")
    public String headSample() {
        return "head/sample";
    }

    @GetMapping("sample2")
    public String headSample2() {
        return "head/sample2";
    }
}
resources/templates/head/sample.html
<!doctype html>
<html lang="ja" xmlns:th="http://www.thymeleaf.org">
  <head>
    <title>headサンプルページ</title>
    <script src="https://unpkg.com/htmx.org@2.0.3"></script>
  </head>
  <body>
    <button hx-get="/head/sample2"
            hx-target="body"
            hx-swap="innerHTML">head/sample2にリクエスト
    </button>
  </body>
</html>
resources/templates/head/sample2.html
<!doctype html>
<html lang="ja" xmlns:th="http://www.thymeleaf.org">
  <head>
    <title>headサンプルページ2</title>
    <meta charset="UTF-8" />
  </head>
  <body>
    <p>リクエスト完了</p>
  </body>
</html>
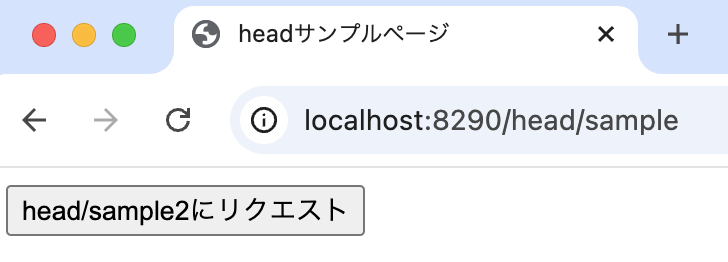
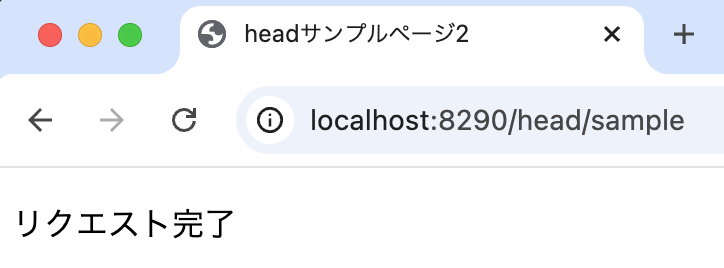
/head/sampleにアクセスし、ボタンを押すと/head/sample2にリクエストされbody内の要素が書き換えられます。


このとき、headタグの内容は以下のようになっています。
- リクエスト前
<head>
  <title>headサンプルページ</title>
  <script src="https://unpkg.com/htmx.org@2.0.3"></script>
  <style>      .htmx-indicator{opacity:0}      .htmx-request .htmx-indicator{opacity:1; transition: opacity 200ms ease-in;}      .htmx-request.htmx-indicator{opacity:1; transition: opacity 200ms ease-in;}      </style>
</head>
- リクエスト後
<head>
  <title>headサンプルページ2</title>
  <script src="https://unpkg.com/htmx.org@2.0.3"></script>
  <style>      .htmx-indicator{opacity:0}      .htmx-request .htmx-indicator{opacity:1; transition: opacity 200ms ease-in;}      .htmx-request.htmx-indicator{opacity:1; transition: opacity 200ms ease-in;}      </style>
</head>
当然ながらhx-target="body"としているのでheadタグは置き換えられていません。(titleタグは例外)
では、sample.htmlのbodyタグを以下のように書き換えるとどうでしょう。
<body hx-ext="head-support">
<button hx-get="/head/sample2"
        hx-target="html"
        hx-select="html"
        hx-swap="outerHTML">head/sample2にリクエスト
</button>
</body>
sample2.htmlからhtmlタグを抜き出して、sample.htmlのhtmlタグを置き換えようとしています。(つまり、ページ全体を置き換えます。)
この状態でボタンを押すとtitleタグのみが変更され、それ以外のheadタグ、bodyタグの内容はそのままです。
<!doctype html>
<html lang="ja" xmlns:th="http://www.thymeleaf.org">
  <head>
    <title>headサンプルページ2</title>
    <script src="https://unpkg.com/htmx.org@2.0.3"></script>
  </head>
  <body>
    <button hx-get="/head/sample2"
            hx-target="html"
            hx-select="html"
            hx-swap="outerHTML">head/sample2にリクエスト
    </button>
  </body>
</html>
これ以外にも、hx-target="head" hx-select="head"としてheadタグを置き換えようとしてもうまくいきません。
これは、HTMXが基本的にはbodyタグ(の内部)を対象としており、headタグ内部は特定のタグ以外は無視しているからだと考えられます。
headタグを扱いたいとき
では、headタグを扱いたいときにはどうすれば良いのでしょうか?
前の例のように、ページ全体を置き換えるのであればHTMXを使わずにHTML標準機能でリクエストを行うというのも手ですが、HTMXでリクエストをしたい場合やheadタグだけ置き換えたい場合もあるでしょう。
このような時には、htmx Head Tag Support Extensionという拡張を利用します。
利用法は簡単です。
まず、headタグ内に<script src="https://unpkg.com/htmx-ext-head-support@2.0.2/head-support.js"></script>を追加し、bodyタグにhx-ext="head-support"という属性を追加します。
resources/templates/head/sample.html
<head>
  <title>headサンプルページ</title>
  <script src="https://unpkg.com/htmx.org@2.0.3"></script>
  <script src="https://unpkg.com/htmx-ext-head-support@2.0.2/head-support.js"></script>
</head>
<body hx-ext="head-support">
  <button hx-get="/head/sample2"
          hx-target="body"
          hx-swap="outerHTML">head/sample2にリクエスト
  </button>
</body>
次に、headタグを扱う際の挙動を設定します。
挙動は、hx-boostを設定しているかどうかで変わりますが、今回は設定していない場合(デフォルトまたはhx-boost="false")で紹介します。
merge
リクエスト後に返すHTMLファイル(ここでは、head/sample2.html)のheadタグにhx-head="merge"を指定すると、リクエスト後のheadタグは以下のようになります。
<head>
  <title>headサンプルページ2</title>
  <meta charset="UTF-8">
</head>
この設定の場合、以下のようなアルゴリズムによって新しいheadタグが生成されます。
- リクエスト前の
headタグにもレスポンスのheadタグにも含まれるタグはそのまま残る - リクエスト前の
headタグには含まれないが、レスポンスのheadタグに含まれるタグは末尾に追加される(<meta charset="UTF-8">) - リクエスト前の
headタグには含まれるが、レスポンスのheadタグには含まれれないタグは削除される(HTMX関連のscriptタグ)
re-eval
リクエスト後(ここでは、head/sample2.html)のheadタグ内部の要素にhx-head="re-eval"を指定すると、その要素はheadタグから除去された後に再度追加されます。
これは、HTMXリクエストのたびにJavaScriptコードを実行したい場合に使えるようですが、毎回jsファイル自体のリクエストも行われるため注意が必要です。
head/sample.html
<head>
  <title>headサンプルページ</title>
  <script src="https://unpkg.com/htmx.org@2.0.3"></script>
  <script src="https://unpkg.com/htmx-ext-head-support@2.0.2/head-support.js"></script>
  <script src="/js/sample.js"></script>
</head>
head/sample2.html
<head hx-head="merge">
  <title>headサンプルページ2</title>
  <script src="https://unpkg.com/htmx.org@2.0.3"></script>
  <script src="https://unpkg.com/htmx-ext-head-support@2.0.2/head-support.js"></script>
  <script hx-head="re-eval" src="/js/sample.js"></script>
</head>
js/sample.js
console.log("sample.jsをロード")

hx-preserve
リクエスト前(ここでは、head/sample.html)のheadタグ内部の要素にhx-preserve="true"を指定すると、その要素はレスポンスのheadタグに含まれていなくても除去されません。
append
リクエスト後に返すHTMLファイル(ここでは、head/sample2.html)のheadタグにhx-head="append"を指定すると、リクエスト後のheadタグは以下のようになります。
<head>
  <title>headサンプルページ2</title>
  <script src="https://unpkg.com/htmx.org@2.0.3"></script>
  <script src="https://unpkg.com/htmx-ext-head-support@2.0.2/head-support.js"></script>
  <style>      .htmx-indicator{opacity:0}      .htmx-request .htmx-indicator{opacity:1; transition: opacity 200ms ease-in;}      .htmx-request.htmx-indicator{opacity:1; transition: opacity 200ms ease-in;}      </style>
  <title>headサンプルページ2</title>
  <meta charset="UTF-8">
</head>
この設定の場合、リクエスト前のheadタグは全て残り、レスポンスのheadタグは全て新しいheadタグの末尾に追加されます。
終わりに
今回は、HTMXでheadタグ内の要素を扱う方法をご紹介しました。
実際に必要な場面は少ないかもしれませんが、知っているとHTMXでできることがより広がりそうですね。
では、また次回。
